Wednesday, 13 July 2016

A Series of Unfortunate Events

During the entire life of the Viva, it had its share of series of unfortunate events. The tyre was changed early this year, all 4 of it, with Continental CC5, and within these few months, one was punctured with a screwdriver in front of my old house, one burst when going back to Sibu, and another one was swollen from the incident.

Incident 1
A screwdriver
This happened in May where I was just about to go to class. When the car was inside the house compound, nothing unusual happened. The tyres were all inflated and there was nothing on the floor. When I was about to leave the house after closing the gate, I heard a loud sound coming from the rear. To my absolute surprise, the tyre was punctured. After changing to a spare tyre, I thought that it was just a small screw, and when I got the tyre fixed, it was actually a 15cm Philips/flathead screwdriver lodged deep inside the tyre. Thank goodness nothing bad happened afterwards.

Cost of damage : RM8 for repair.

Incident 2
At the scene
While travelling back to Sibu from Kuching, with my dad at the back using another car, we went to Sibu using another route. Usually after Sarikei, I would usually drive to Lanang Bridge as it is closer to Sibu, but during the unfateful day, my dad wanted to use another route. It is called Jalan KJD, and from Sarikei, it links Kanowit, Julau and Durin, and the Sibu Airport. The road is a dual-carriageway, and my dad insisted on using it just to avoid the traffic jam at Lanang Bridge, as it was a holiday that time.

After passing Julau, the road was empty and looked smooth. I speed up and assumed that there is nothing wrong with the road. After passing a bridge, there was a small hill of spilled cement on the road. I could not avoid it as it was smack in the middle of the road. Tried slowing down and avoiding it, but it tore my left tyre.

Basically torn.
The story doesn't end there. The next day, we sent the car to get a new tyre to replace the ripped one. While replacing the ripped one, I noticed that the other tyre was swollen.

Swollen tyre
Total damage was RM380 for the tyres and additional RM60 for balancing and alignment.

Pity me darling :(


Bad luck eh?

Headlight Restoration using Samurai 2K Clearcoat Spray

Last weekend, I had an opportunity to restore a family friend's BMW 525i headlights. It was in a terrible condition due to old age of the car and most probably had been exposed in the sun for too long.
The condition of the headlights before restoration
It had tiny cracks on it, and it was quite yellowish. The light output wasn't that bright as the casing is very blurry. The owner contacted me, booked a time slot for the service, and the car was done in 3 hours, as the headlamp was in a really bad shape.

If you are thinking of attempting this project on your own, you will need;
1. 500 grit, 800 grit, 1000 grit, 1500 grit sandpaper
2. A spray bottle filled with soapy water
3. A bucket filled with water
4. Samurai 2K-in-a-can Clearcoat
5. Newspapers and painters' tape
6. A clean microfibre towel
7. Lots and lots of time.

If the condition of the headlights is not that bad, you can skip the 500 grit sandpaper entirely. But then, if 800 grit sandpaper could not sand down the case, you will need it.

First off, the headlights were taped around it with painters' tape as when you wetsand it, there are chances that you will accidentally sand the paint with it when sanding the edges of the headlights. To protect the paint, it is essential to cover the paint around it. Before sanding, soak all of the sandpapers in water for at least 10 minutes before sanding.

Start off  by wetting the headlamp and the sandpaper with soapy water. Then, start sanding with 500 grit sandpaper in one direction. The trick is to sand either horizontally or vertically and change the direction when you change the grit of the sandpaper. For example, if you're sanding 500 grit horizontally, sand 800 grit vertically. This is to ensure that the whole surface is covered and there are less high and low spots. When sanding, make sure that the surface is always wet. When the cracks appear to be less, move on with 800 grit until the surface is flat to touch. Then, move on with 1000 grit sandpaper, and end with 1500 grit sandpaper.

After sanding.
For this particular project, I used the Samurai 2K Clearcoat which I had mentioned previously in the post where I sprayed my car bumper. The instructions are affixed at the can, where the 2 parts are mixed. When it is opened and mixed, make sure to use it within 4 hours.

Samurai's 2K in a Can
I learned this from a paint shop in Kuching, and when you use this clear coat, the coat can last for 3-5 years, depending on the weather and how the car is maintained. I forgot to take the photo as the winds were blowing strongly at the time and I was rushing for the car to be completed.

Before using the product, make sure that the surface is clean and dry. Cover EVERYTHING that may be in contact with the mist coming from the 2K clearcoat. I learned this lesson the hard way as the clearcoat mist came in contact with my Viva and it left a very rough surface on the car.

Spray the headlamp with multiple coats, and make sure that there are flash times between coats, meaning that before spraying another coat, the underlying coat is dry enough. When it is not dry enough, cracks can form on the clearcoat and it will look horrible. When you are done, let it dry properly.

After clearcoating.

When it is dry enough, it leaves a hard & glasslike coating which will last quite some time.

At a different angle
Close-up
If you are in Sibu, and is interested to do a headlight restoration on your car, just drop a comment below and I will reply to you soonest.

For the DIYers, happy DIYing!

Smoked Headlamp - Aikka Nano Coating

It has been quite some time since I last wrote anything on the blog due to different commitments which includes times where I am too lazy to anything. Today, I would like to share a process of smoking your headlights using Aikka Nano Coating, but this one was done by someone that I found online.

Last time, my Viva's headlamp was broken due to a failed experiment on respraying the insides, causing the lens to crack and become unusable. It was really ugly, and the lights came brand new with the car. So, I had to source for a second hand headlamp, but it was horribly yellow. I tried sanding and polishing, but it became yellow after a month of full sun exposure.

Most of the shops do not spray on a layer of protection, as when we sand down and polish using rubbing compound, the UV protection layer is gone, and that is why the headlights become yellowish and fades faster.

Yellowed headlamp. 
To save cost and to give the headlamp a new lease of life, I decided to call a "coating specialist" that claimed they could save the headlamp, so I gave it a try. The cost was RM75, and if you happened to be in Kuching, Sarawak, search for his name on FB - Eddie Ambrose. I think the cost depends on what car you are using.

Sanding down with 800-grit sandpaper

The first step was to sand down the headlamp to clear the yellowing as much as possible. As far as I know, they used a 800-grit sandpaper and wetsand the headlamp.

The right headlamp which is yellower.
Prepping works
A good prep is essential to keep overspray from being in contact with other parts of the car. 

Sprayed with the first layer
The headlamp was sprayed with 3 coats of the "nano-coating" and the end result is a darkened headlamp.
End result
This was done within 45 minutes and the headlamp is still dark until now. When I resprayed the bumper, it really blends in well with the whole colour of the car. 

After the bumper has been resprayed

Happy DIY, if you have all the tools! A simpler headlamp restoration would be in the next post.

Tuesday, 22 March 2016

DIY : How To Spray Paint Your Bumper at Home Using Aerosol Cans

As I mentioned before in my previous post, I would like to share how to spray paint your bumper at home using aerosol cans. Sending your bumper for paint at workshops would set you at least RM200 including GST (that dreaded bloodsucker), but I did mine for less than that inclusive of the new bumper.

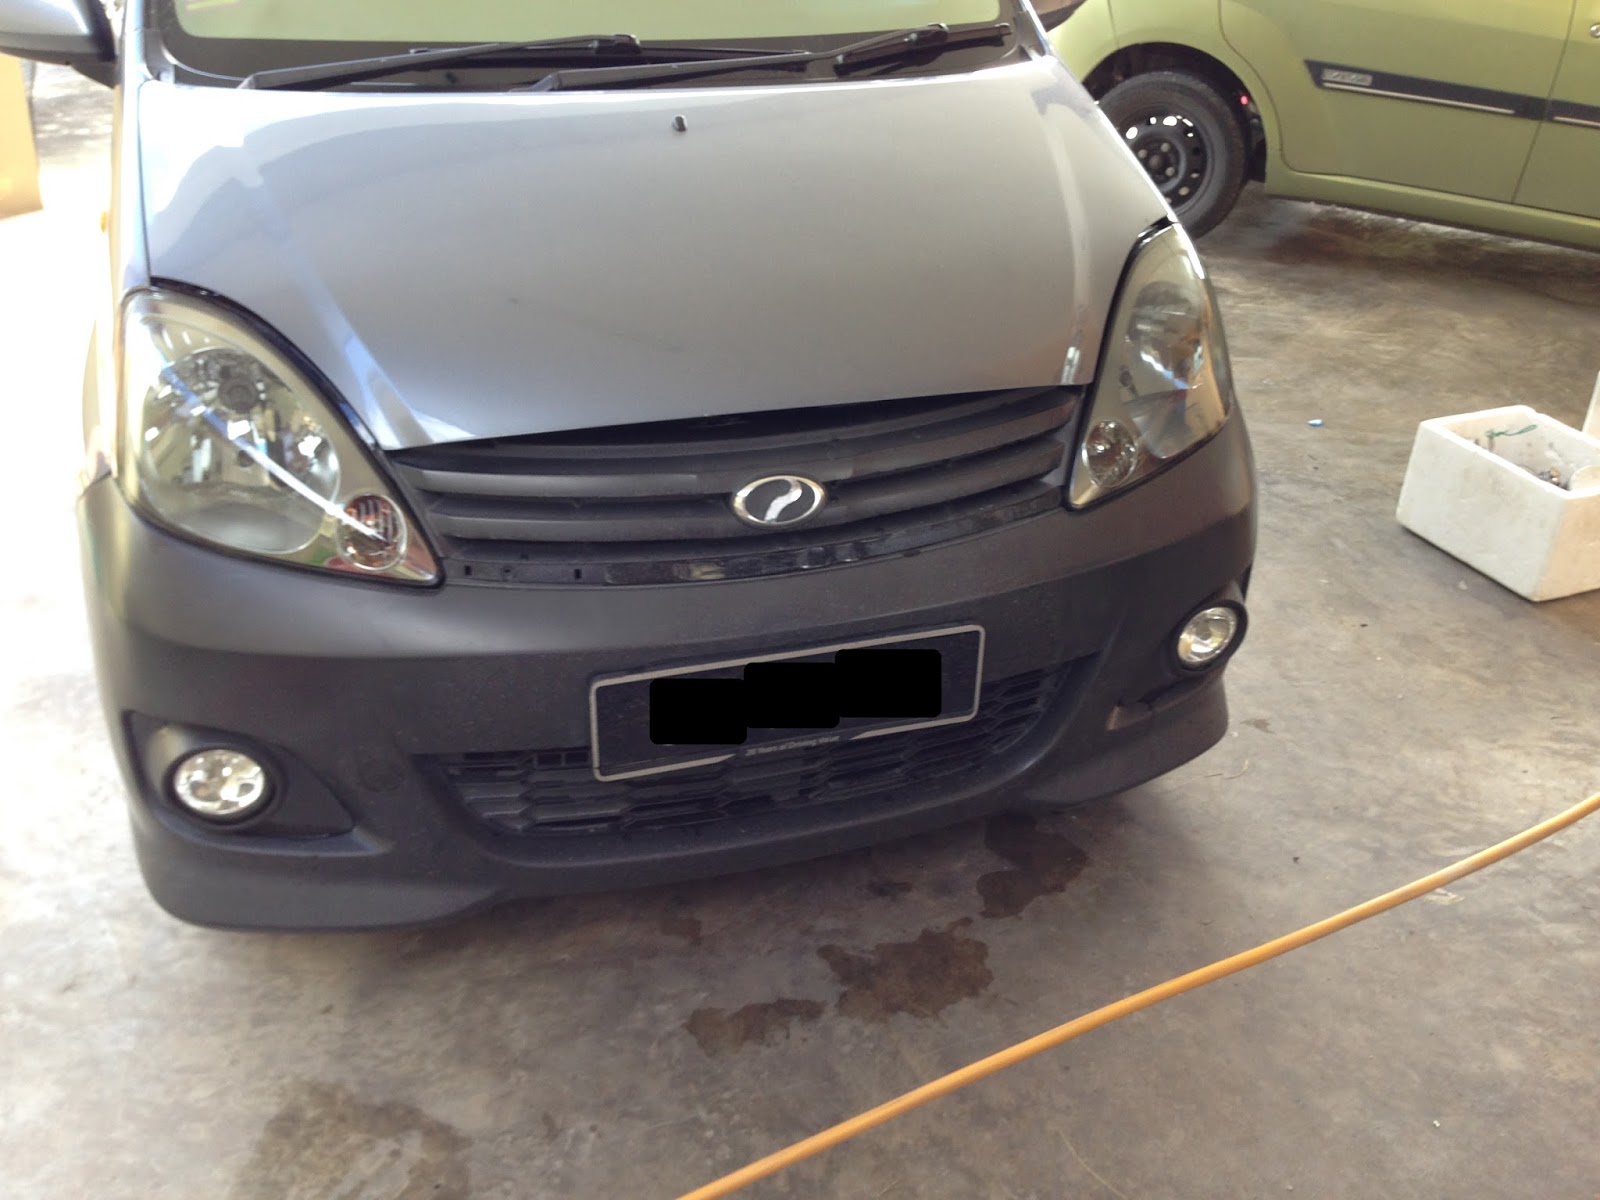
As my Viva is a standard version, I’ve always been in love with the design of the Viva Elite. It looks much more appealing if compared to the standard Viva. Back then, if you have noticed in my previous posts, the bumper is a Viva Elite bumper but it’s black. It’s not painted black, but the colour of the material (polyurethane/PU) is black. Being the thrifty person that I am, I had not painted the bumper for 2 years and it has gone through quite a beating. It’s plain ugly. So I decided to get rid of the old one and opted for a new bumper instead.

Viva Elite bumper
I’m using the Taiwan Viva Elite bumper which costed me RM72.10 including GST, and I bought it at Standards Kuching, Mile 3. I always get my parts there because it’s the cheapest that I could find.
What do you need if you plan to do this DIY? Here I will list down the items you need.

1.       Plastic Adhesion Primer (RM23.10)
2.       1K Primer (RM18)
3.       Aikka colour-coded paint (Rm31.60)
4.       Samurai 2K Clearcoat (RM26.50)
5.       1200 grit sandpaper (RM2)
6.       Soap and water
7.       Patience

All and all, this particular project will set you back RM173.30 inclusive of GST. I managed to save a bit as I found a bottle of 1K primer in the store, a leftover from my previous project. I did this entire project in the span of 2 days as the weather was not that friendly and I really don’t have time to spend to do it in one day.

First of all, before starting with anything, clean the bumper with a cloth. I was too excited to bother washing it with soap, as I will need time for it to dry. What I did was, I wiped the entire bumper with a microfiber towel. Next, after wiping, cover all the parts that you don’t want to get spray on with masking tape and newspaper. The hardest part in masking is to cover the grille and the holes where you put the foglights at.

After masking it all off, spray it with the plastic adhesion primer. This is a MUST when spraying a new bumper because there is simply no grip for the paint to adhere on. When there is no adhesion, the paint won’t stick. If it does stick, the paint will crack and peel off in a matter of months. The plastic adhesion primer is clear, and one can is enough for the entire bumper. It dries off very quickly, and it leaves a rough surface on the bumper.

After spraying with plastic adhesion primer

Once the plastic adhesion promoter is completely dried, the 1K primer comes next. Give the bumper a thin coat of primer, and once it flashes off, a thick second and third layer of primer is sprayed on. After the primer has dried, it is then wetsanded using a 1200 grit sandpaper and soap. The purpose of wetsanding it is to make sure that the primer is smooth. Some may disagree with this part, but I’ve noticed that when I don’t sand at this stage, I have to sand the clearcoat which is much hassle and I need a polishing machine to get it right. Once it is sanded and the primer is smooth, let it dry before the next stage.
First coat of primer
3 coats of primer done, and wetsended 

The colour stage is done the following day. It is a good practice to shake the can vigorously for at least a minute before spraying and shake the can for 15 seconds after spraying each coat. It is to make sure that the paint inside is mixed properly and when you feel that the spray nozzle is clogged, turn it upside down and spray it somewhere to clean the nozzle. I managed to do 2 coats with 1 can, and it is sufficient for me. Good coverage, even spray pattern, is all that I need.

"Medallion Grey" is actually Bluish Gun Silver S33

Paint shop
Once it is done, let the paint settle for few hours before clearcoating it. I’ve used Samurai 2K clearcoat which I got from a local motorcycle workshop. Even though it says that it is for motorcycle use, the quality of the clearcoat is as good as using a spray gun. It has 2 parts, the clearcoat itself and the hardener, combined into one can. This is a very good product, as my last 3 projects, I had been using Aikka clearcoats that is mixed in an aerosol can, and it only lasts for 45 minutes. And if compared to Samurai, Samurai is better.

Samurai 2K Clearcoat


The trick of getting a smooth finish for the clearcoat is to make sure that the winds are not blowing and the paint is clean. No dust, no cat fur, no sand. (I have cats here). Spray the first coat lightly and the following coats heavy. Not too heavy, as you may end up with a runny clearcoathich may turn ugly. I did it in less than 30 minutes, inclusive of time between coats, and the clearcoat was dry to touch within 3 hours in cool conditions. What I’ve read online is that the clearcoat doesn’t need much heat to cure as it is a chemical reaction that takes place during the curing process.

Once the clearcoat is dry, I installed the newly painted bumper onto the car the same night because I was that excited to see the car finally get a new face. The old bumper was uninstalled and came the new bumper. It is simply marvelous.

The old bumper
Getting rid of the old bumper
New bumper installed
After so long, the Viva has finally got its deserved facelift


Till next time, I will post more DIY projects and perhaps some other projects of interest.


Aaron.

Thursday, 10 March 2016

An Old Friend of Mine

I’m not sure if anyone visits my blog anymore, since I don’t post or write up on anything since long ago, but then, if you’re here, welcome. It’s my final semester and in my final year, so things are really messed up and it’s gotten into my head. I literally don’t have time for anything, and if I have time, I would use up my time to sleep.

I've grown large over the months.


There are tons of minor car projects that I’ve done on my Viva but then, my hands are full and tied, so there is no time for me to write up on it. Current progress since my last update was; spraying the front bumper to the body colour, installed a set of carpets, and retint my car so that it’s darker. Basically what I’ve done is barely legal, and it’s up to constant updates online to keep me updated on where the current location of roadblocks are. Lucky me.

This semester, as mentioned earlier, is my final semester, and contrary to popular belief, it’s not exactly the most enjoyable semester yet. My schedule is packed and I’m dealing with so many things at one moment. Final year projects, campaigns, various talks, classes, lectures, assignments, to name a few. I do feel dragged down to earth and kissing every dirt that’s smearing all over my face because that is the only analogy that I can describe to tell how life is right now. And to top it all off, the Industrial Training. No response from both companies. Still keeping both my fingers crossed. I’m worried.

Campaigns? I’m now the Project Director (Pengarah Projek, the name sounds so WOW but it’s hell actually) for the Work-Life Balance Campaign that is going to be held on the 25th April this year. It’s a huge event, and I’ve been given responsibility to run this programme without training wheels. I have no experience in handling such an event, but, a challenge is definitely something that I can handle, and this is a challenge for my personal development as a person and a future graduate. Handling a team of 12, with 60+ under them, is definitely a huge challenge. It’s still in the proposal stage, but when it is ready, I may make a post on it. I can assure you, if things are going as planned, you might see some familiar faces in the post.

The WLB Committee. Come on, where can you get a sporting boss like me? #eh

What keeps me afloat right now is her. Ivy. My best friend, my sister, my rival, my counselor, my advisor, my PA, and most importantly, my soulmate. She’s been there for me through thick and thin, and when at times that it seemed that all hope is lost for me to keep moving on, she’s there to push me up and keep me afloat in the big sea. Life has not really been kind enough to me, and sometimes, I can barely catch a breath, but she’s my main advisor on what to do even though the response would sometimes be “aku sik tauk!” She’s also my best friend when it comes to food. Both of us gained a substantial amount of weight when we’re together just because we love food so much!

Car updates? Soon. When I have time to breathe and I can find all the pictures I need to create a post. I do have a post on how to DIY yourself to spraypaint your car using aerosol rattle cans, and I would give you recommendation on what to buy and what to get. When I have time, I’ll post it.

Thy humble project. 

I’ll be busy with a career talk by Shell & Yayasan Sarawak this Saturday at CENTEX Santubong, and God how I dread the drive there, and it’s early in the morning! Perhaps there is a silver lining amongst the dark clouds, so, there I will be.

I do have a blog post still on draft, I'll see what I can do later. Till then, I need to get back on my final year project, and prepare myself for what’s coming ahead. Wish me luck, and Godspeed.

Aaron.


P.S. I don’t have any social media accounts to shout about. But I do have a Twitter account. Go follow me at @aaronsekai. 

Thursday, 13 August 2015

Zaptor Evolve II Voltage Stabilizer

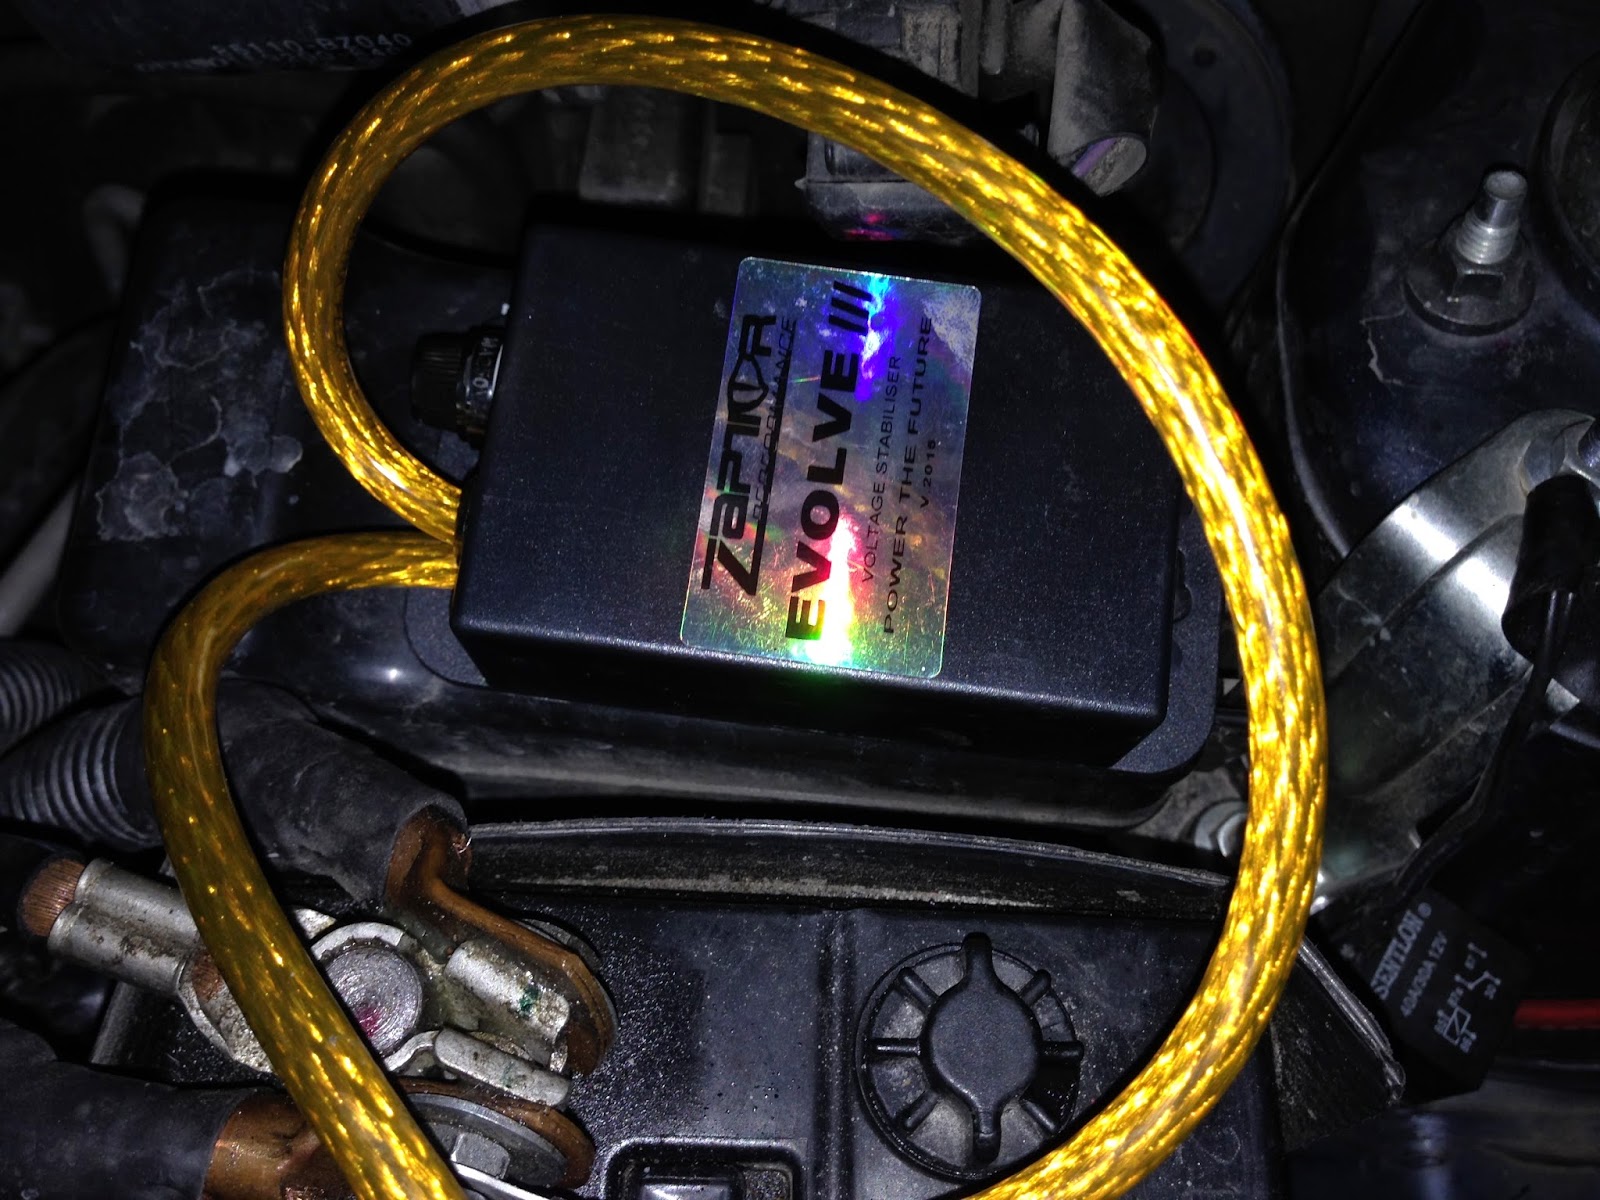
Few months ago, I decided to install a voltage stabilizer in my Viva after I added a set of subwoofer at the back of my car. Since I'm always playing my subwoofer on full blast, my fuel consumption got higher. Why? For every bit of power consumed from the battery, the alternator has to charge the battery, and when the alternator is working, fuel is consumed. To lessen the effect, a voltage stabilizer is needed to regulate the surge of power and to provide extra power when needed.

Zaptor Evolve II
I got this Zaptor Evolve from a friend of mine, and it was RM100. The benefits of using this voltage stabilizer as I copied from a seller at Lowyat, he states that;
BENEFITS OF USING VS:
1. LIGHTER PEDAL FEEL
2. SMOOTHER ACCELERATION
3. COOLER AIR COND
4. BRIGHTER LIGHTS ( CABIN & HEADLAMPS )
5. LESSEN THE KICK BACK-FEEL WHEN THE AIR-COND KICKS IN
6. MIGHT IMPROVE FUEL CONSUMPTION
7.QUICKER ENGINE START

After a few months using this voltage stabilizer, it does make my Viva more responsive and I can easily overtake a few cars with the added VS and grounding cables.

P.S: Sorry for such a long setback on the update because I was quite preoccupied with so many things and my addiction for DoTA is getting worse.

Happy reading!

Friday, 1 May 2015

Nissan Frontier D22 : Changing Air Filter

Air filter is one of the most important element in the engine that is often overlooked. An air filter is like a hair in our nostrils, it filters dirt from entering the "lungs" of the engine, which is the combustion chamber of the engine. Any dirt that manages to enter the combustion chamber of the engine will often result in premature damage of the engine as the dirt will spoil the sensitive components of the engine. An air filter should be replaced after 40,000KM or 2 years, and it should be changed more often when you're living in a very dusty condition, or drive through very dusty roads often.

It's time to change your air filter when you notice one of these symptoms : increased fuel consumption, loss of engine power, and weak acceleration. My dad's Nissan Frontier, as mentioned in the previous post , the car is 10 years old, and he was not sure when was the last time that the air filter was changed. So, in this post, I will show how to change the air filter of Nissan Frontier D22 engines.

Brand new air filter
I bought this air filter for RM35 at Standard Spare Parts which is located at Jalan Keretapi, Mile 3. So what you need to change the air filter is ;
1. A brand new air filter.
2. Size 10 flex head socket wrench / a Philips screwdriver

The air filter
First and foremost, locate the air filter. It is located adjacent to the fuel pump in this particular car, and it's easy to notice. The air filter is usually encased in a air filter box.

Loosen the O-ring
Next, loosen the O-ring either with a flex head socket wrench or a Philips screwdriver and pull off the rubber hose from the air filter box.

The rubber hose connected to the engine
Next, locate the end of the rubber hose and loosen it by using the wrench. It's hard to use the screwdriver as the space is tight.

The rubber hose disconnected and loosen
Once the rubber hose has been disconnected and the other end is loose, push the rubber hose sideways so that there is room to open the air filter enclosure.

After few years of use.
This left me puzzled. Why is the rubber on top of the air filter seems to be torn off? No worries, we are not going to use it anyways.

Old vs. New Air Filter
The difference between these two air filters is significant. The old air filter is black and covered in soot, while the new air filter is white and clean. Then, put the new air filter in, and reassemble everything by following the disassembly method in reverse order.