It has been quite some time since I last wrote anything on the blog due to different commitments which includes times where I am too lazy to anything. Today, I would like to share a process of smoking your headlights using Aikka Nano Coating, but this one was done by someone that I found online.
Last time, my Viva's headlamp was broken due to a failed experiment on respraying the insides, causing the lens to crack and become unusable. It was really ugly, and the lights came brand new with the car. So, I had to source for a second hand headlamp, but it was horribly yellow. I tried sanding and polishing, but it became yellow after a month of full sun exposure.
Most of the shops do not spray on a layer of protection, as when we sand down and polish using rubbing compound, the UV protection layer is gone, and that is why the headlights become yellowish and fades faster.
 |
| Yellowed headlamp. |
To save cost and to give the headlamp a new lease of life, I decided to call a "coating specialist" that claimed they could save the headlamp, so I gave it a try. The cost was RM75, and if you happened to be in Kuching, Sarawak, search for his name on FB - Eddie Ambrose. I think the cost depends on what car you are using.
 |
| Sanding down with 800-grit sandpaper |
The first step was to sand down the headlamp to clear the yellowing as much as possible. As far as I know, they used a 800-grit sandpaper and wetsand the headlamp.
 |
| The right headlamp which is yellower. |
 |
| Prepping works |
A good prep is essential to keep overspray from being in contact with other parts of the car.
 |
| Sprayed with the first layer |
The headlamp was sprayed with 3 coats of the "nano-coating" and the end result is a darkened headlamp.
 |
| End result |
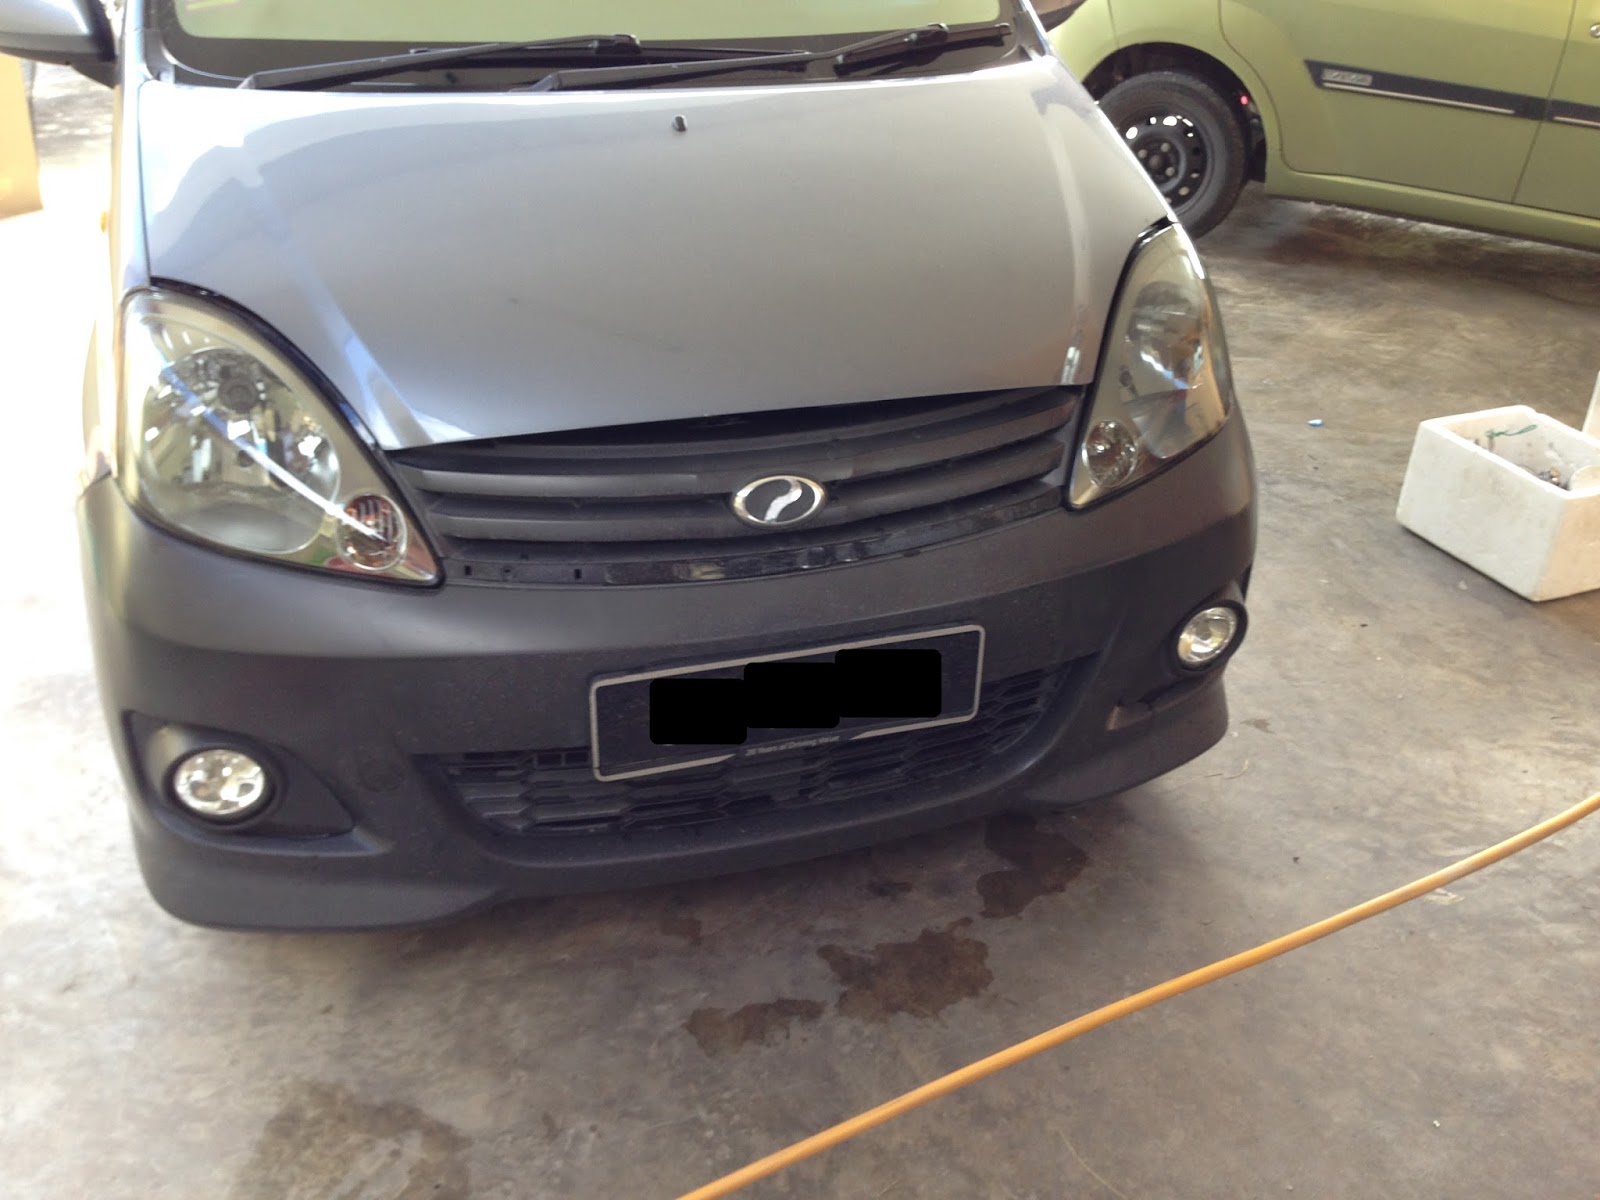
This was done within 45 minutes and the headlamp is still dark until now. When I resprayed the bumper, it really blends in well with the whole colour of the car.
 |
| After the bumper has been resprayed |
Happy DIY, if you have all the tools! A simpler headlamp restoration would be in the next post.


Thanks for sharing this info!
ReplyDeleteVery informative
Elcometer 456