Wednesday 13 July 2016

A Series of Unfortunate Events

During the entire life of the Viva, it had its share of series of unfortunate events. The tyre was changed early this year, all 4 of it, with Continental CC5, and within these few months, one was punctured with a screwdriver in front of my old house, one burst when going back to Sibu, and another one was swollen from the incident.

Incident 1
A screwdriver
This happened in May where I was just about to go to class. When the car was inside the house compound, nothing unusual happened. The tyres were all inflated and there was nothing on the floor. When I was about to leave the house after closing the gate, I heard a loud sound coming from the rear. To my absolute surprise, the tyre was punctured. After changing to a spare tyre, I thought that it was just a small screw, and when I got the tyre fixed, it was actually a 15cm Philips/flathead screwdriver lodged deep inside the tyre. Thank goodness nothing bad happened afterwards.

Cost of damage : RM8 for repair.

Incident 2
At the scene
While travelling back to Sibu from Kuching, with my dad at the back using another car, we went to Sibu using another route. Usually after Sarikei, I would usually drive to Lanang Bridge as it is closer to Sibu, but during the unfateful day, my dad wanted to use another route. It is called Jalan KJD, and from Sarikei, it links Kanowit, Julau and Durin, and the Sibu Airport. The road is a dual-carriageway, and my dad insisted on using it just to avoid the traffic jam at Lanang Bridge, as it was a holiday that time.

After passing Julau, the road was empty and looked smooth. I speed up and assumed that there is nothing wrong with the road. After passing a bridge, there was a small hill of spilled cement on the road. I could not avoid it as it was smack in the middle of the road. Tried slowing down and avoiding it, but it tore my left tyre.

Basically torn.
The story doesn't end there. The next day, we sent the car to get a new tyre to replace the ripped one. While replacing the ripped one, I noticed that the other tyre was swollen.

Swollen tyre
Total damage was RM380 for the tyres and additional RM60 for balancing and alignment.

Pity me darling :(


Bad luck eh?

Headlight Restoration using Samurai 2K Clearcoat Spray

Last weekend, I had an opportunity to restore a family friend's BMW 525i headlights. It was in a terrible condition due to old age of the car and most probably had been exposed in the sun for too long.
The condition of the headlights before restoration
It had tiny cracks on it, and it was quite yellowish. The light output wasn't that bright as the casing is very blurry. The owner contacted me, booked a time slot for the service, and the car was done in 3 hours, as the headlamp was in a really bad shape.

If you are thinking of attempting this project on your own, you will need;
1. 500 grit, 800 grit, 1000 grit, 1500 grit sandpaper
2. A spray bottle filled with soapy water
3. A bucket filled with water
4. Samurai 2K-in-a-can Clearcoat
5. Newspapers and painters' tape
6. A clean microfibre towel
7. Lots and lots of time.

If the condition of the headlights is not that bad, you can skip the 500 grit sandpaper entirely. But then, if 800 grit sandpaper could not sand down the case, you will need it.

First off, the headlights were taped around it with painters' tape as when you wetsand it, there are chances that you will accidentally sand the paint with it when sanding the edges of the headlights. To protect the paint, it is essential to cover the paint around it. Before sanding, soak all of the sandpapers in water for at least 10 minutes before sanding.

Start off  by wetting the headlamp and the sandpaper with soapy water. Then, start sanding with 500 grit sandpaper in one direction. The trick is to sand either horizontally or vertically and change the direction when you change the grit of the sandpaper. For example, if you're sanding 500 grit horizontally, sand 800 grit vertically. This is to ensure that the whole surface is covered and there are less high and low spots. When sanding, make sure that the surface is always wet. When the cracks appear to be less, move on with 800 grit until the surface is flat to touch. Then, move on with 1000 grit sandpaper, and end with 1500 grit sandpaper.

After sanding.
For this particular project, I used the Samurai 2K Clearcoat which I had mentioned previously in the post where I sprayed my car bumper. The instructions are affixed at the can, where the 2 parts are mixed. When it is opened and mixed, make sure to use it within 4 hours.

Samurai's 2K in a Can
I learned this from a paint shop in Kuching, and when you use this clear coat, the coat can last for 3-5 years, depending on the weather and how the car is maintained. I forgot to take the photo as the winds were blowing strongly at the time and I was rushing for the car to be completed.

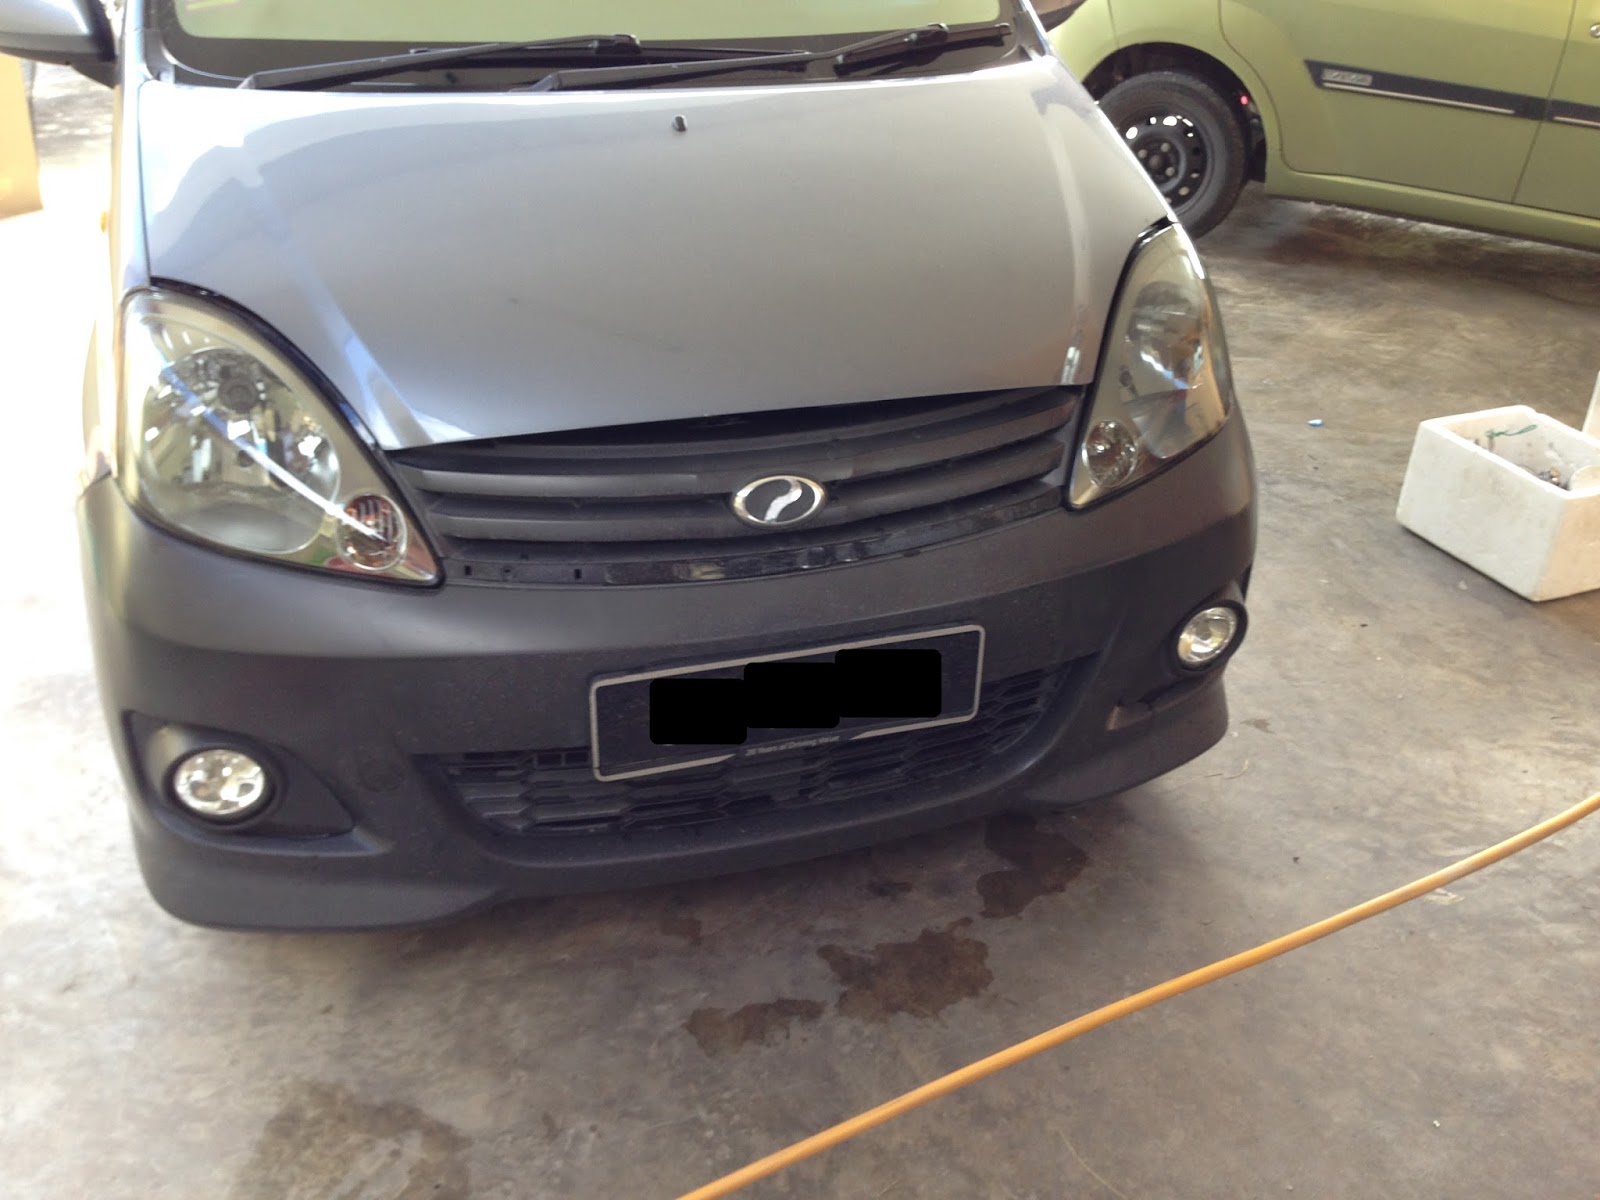
Before using the product, make sure that the surface is clean and dry. Cover EVERYTHING that may be in contact with the mist coming from the 2K clearcoat. I learned this lesson the hard way as the clearcoat mist came in contact with my Viva and it left a very rough surface on the car.

Spray the headlamp with multiple coats, and make sure that there are flash times between coats, meaning that before spraying another coat, the underlying coat is dry enough. When it is not dry enough, cracks can form on the clearcoat and it will look horrible. When you are done, let it dry properly.

After clearcoating.

When it is dry enough, it leaves a hard & glasslike coating which will last quite some time.

At a different angle
Close-up
If you are in Sibu, and is interested to do a headlight restoration on your car, just drop a comment below and I will reply to you soonest.

For the DIYers, happy DIYing!

Smoked Headlamp - Aikka Nano Coating

It has been quite some time since I last wrote anything on the blog due to different commitments which includes times where I am too lazy to anything. Today, I would like to share a process of smoking your headlights using Aikka Nano Coating, but this one was done by someone that I found online.

Last time, my Viva's headlamp was broken due to a failed experiment on respraying the insides, causing the lens to crack and become unusable. It was really ugly, and the lights came brand new with the car. So, I had to source for a second hand headlamp, but it was horribly yellow. I tried sanding and polishing, but it became yellow after a month of full sun exposure.

Most of the shops do not spray on a layer of protection, as when we sand down and polish using rubbing compound, the UV protection layer is gone, and that is why the headlights become yellowish and fades faster.

Yellowed headlamp. 
To save cost and to give the headlamp a new lease of life, I decided to call a "coating specialist" that claimed they could save the headlamp, so I gave it a try. The cost was RM75, and if you happened to be in Kuching, Sarawak, search for his name on FB - Eddie Ambrose. I think the cost depends on what car you are using.

Sanding down with 800-grit sandpaper

The first step was to sand down the headlamp to clear the yellowing as much as possible. As far as I know, they used a 800-grit sandpaper and wetsand the headlamp.

The right headlamp which is yellower.
Prepping works
A good prep is essential to keep overspray from being in contact with other parts of the car. 

Sprayed with the first layer
The headlamp was sprayed with 3 coats of the "nano-coating" and the end result is a darkened headlamp.
End result
This was done within 45 minutes and the headlamp is still dark until now. When I resprayed the bumper, it really blends in well with the whole colour of the car. 

After the bumper has been resprayed

Happy DIY, if you have all the tools! A simpler headlamp restoration would be in the next post.